REVIEW · SAN DIEGO
Learn Your Camera-2 Hr. Private Improve Your Photo Skills Session
Book on Viator →Operated by San Diego Photography Tours · Bookable on Viator
Your camera will finally make sense. In Little Italy, Julie Kremen delivers one-on-one feedback as you shoot and customized coaching based on your goals. One catch: you’ll need to bring your own camera since no gear is provided.
This is the kind of photo lesson that feels like having a coach in your corner, not a classroom. The session includes a tripod, so you can slow down, steady your frame, and actually test what you change.
It’s also flexible on the tech side. You can use an interchangeable-lens camera, a point-and-shoot, or even a mobile phone, and you’ll get guidance the whole way through in a private group setting.
In This Review
- Key things that make this session worth your time
- San Diego photo coaching in Little Italy’s streets
- Who Julie Kremen is and why her teaching style helps
- What you’ll do during the 2-hour session (and what “private” really means)
- Learn your camera fast: practical skills you can use immediately
- Tripod included: why that detail matters more than you think
- Gear reality check: what to bring (and what not to stress)
- Price and value: is $295 per group actually a deal?
- Timing, weather, and getting there without fuss
- Who this private session is best for (and who should skip it)
- Should you book this session?
- FAQ
- How long is the Learn Your Camera private photography session?
- Where do we meet in San Diego?
- Is this a private tour or shared experience?
- What is included in the price?
- Are cameras provided for the session?
- Can I use a mobile phone camera instead of a traditional camera?
- What happens if the weather is bad?
- Is there a cancellation policy with refunds?
Key things that make this session worth your time
- Julie Kremen tailors the plan to your goals before you meet, so the time is aimed at what you care about.
- You practice in Little Italy right away, so lessons connect to real scenes, not test shots in the air.
- Shadowing + immediate feedback helps you adjust on the spot as you shoot.
- Tripod included, which makes it easier to learn settings and composition without fighting camera shake.
- Any camera type works, including mobile phones, so you’re not forced into a single gear path.
- Private group up to 6, which keeps the pace personal and practical.
San Diego photo coaching in Little Italy’s streets
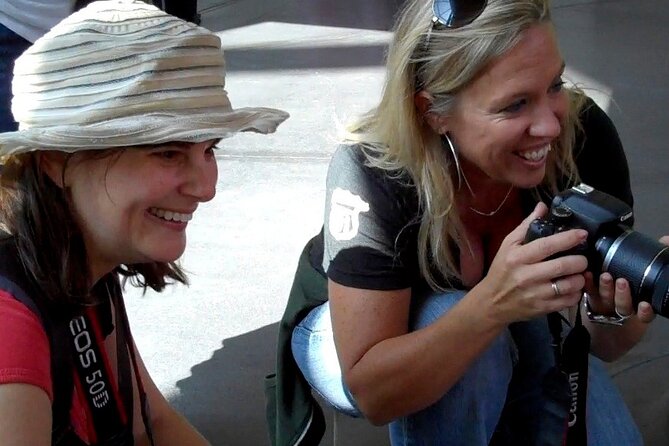
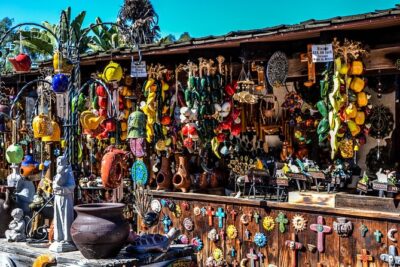
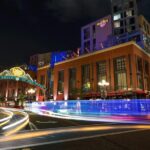
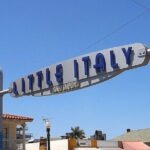
Little Italy is a smart place to teach photography because it naturally gives you quick variety: bright storefronts, textured walls, busy sidewalks, and strong angles. In about two hours, you can cover enough ground to learn the “how” without turning the session into a long walking slog.
You meet at Piazza della Famiglia, 523 W Date St, San Diego, CA 92101, and you start from there. The session is designed so you begin shooting early, then tighten your results with instruction while you’re in motion.
This isn’t a lecture where you watch someone else do everything. It’s built around doing—framing, adjusting, shooting, checking, and improving—so you leave with usable habits instead of a pile of notes you’ll never test.
You can also read our reviews of more private tours in San Diego

Who Julie Kremen is and why her teaching style helps
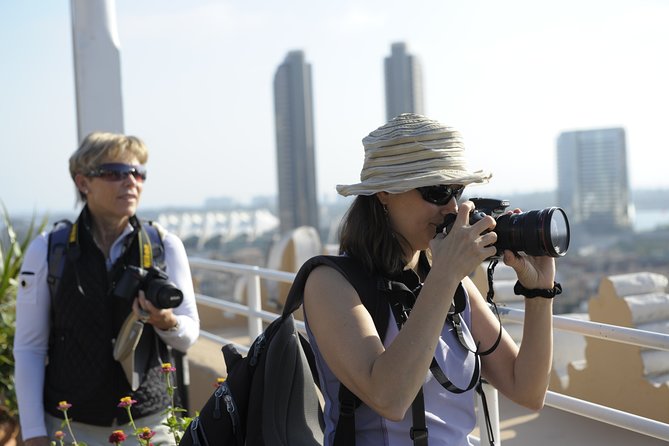
The big advantage here is the instructor. Julie Kremen is an award-winning professional photographer and a certified tour guide, which usually means you get two things at once: solid camera knowledge and real-world teaching skills.
What matters for you is how she approaches personalization. Julie works with you ahead of the session to nail down what you want to concentrate on—so if you’re struggling with exposure, focus, depth of field, or even just getting consistent results, the time is pointed straight at your problem areas.
From the way the session is described, it also sounds like Julie is comfortable coaching across camera levels. That’s important because most people don’t just need one trick; they need a small set of corrections that work for their exact gear and their exact way of shooting.
What you’ll do during the 2-hour session (and what “private” really means)
Your plan is simple: meet in Little Italy, get instruction there, and return to the meeting point when the two hours are up. The session runs about 2 hours, and it’s priced per group (up to 6 people), which keeps it from feeling like you’re buying time “in bulk” instead of instruction that stays focused.
Here’s how you should expect the flow to feel:
- You’ll start by clarifying what you want to improve.
- Julie will then guide you through techniques on your camera while you shoot.
- You’ll get immediate feedback as you test changes in real scenes.
- Because it’s private, you can ask questions without waiting your turn.
The “shadow a skilled professional photographer” part is key. Instead of only talking, you learn by watching how Julie composes, reacts to light, and chooses settings. Then you try it, and she helps you correct what’s going wrong as it happens.
For most people, that short feedback loop is the difference between learning and staying frustrated. You don’t have to guess whether your settings are the issue; you get guidance right at the moment of making the photo.
Learn your camera fast: practical skills you can use immediately
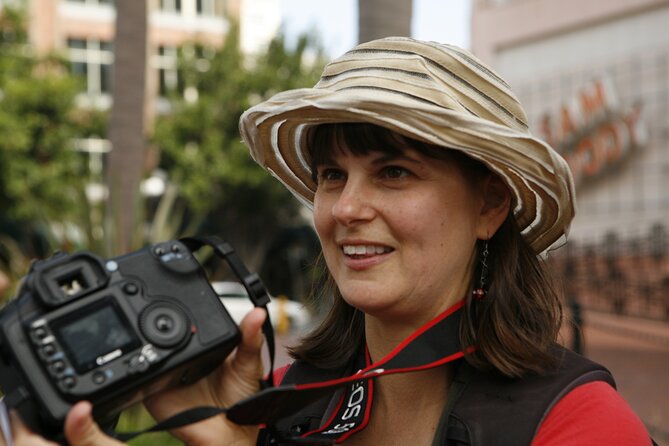
This session covers both the technical and the creative side, but it stays grounded in real shooting. If you have a new camera—especially one with interchangeable lenses—you’ll likely focus on the basics that actually unlock control: how your camera handles exposure, where settings matter most, and how to get steadier results.
If you’re using a phone camera, the lesson still makes sense. Phones have their own behavior (focus response, exposure adjustments, how HDR kicks in), but the goal is the same: help you understand what your camera is doing and how to guide it to match what you see.
Expect to leave with skills you can apply the next day. The real win is learning how to see your scene and then translate that into settings and framing choices. Once you can do that, photography stops being a guessing game.
Tripod included: why that detail matters more than you think
A tripod sounds like a throw-in, but it’s actually useful for learning. With support, you can slow down and test. You can try a lower shutter speed, set up a steadier composition, and focus on why a photo looks the way it does.
It’s also helpful if you’re working on night scenes, shaded areas, or any situation where small shakes make your results softer than you want. Since the session happens in Little Italy, you’ll likely see enough lighting variation to make tripod practice relevant.
Don’t worry if you’re not planning to use a tripod all the time afterward. You’re using it here as a training tool. Think of it like adding training wheels to the skill of controlling light and sharpness.






Gear reality check: what to bring (and what not to stress)
This workshop does not provide cameras. You should bring the camera you want to learn on—plus any accessories you normally use.
Here’s the gear approach I recommend:
- Bring your camera and whatever lens/accessory you’re most likely to use on your trip.
- If you have a tripod already, you can still bring it, but remember the session provides one.
- If you’re shooting with a phone, bring your phone and any case or grip you like using.
Because Julie tailors the instruction, the more “your” gear you bring, the better the feedback can match your controls and settings. If you show up using a different camera than the one you’ll bring on your main trip, you might have to re-learn the menu shortcuts and behavior later.
Also, you might find it helpful to arrive with a short list of photo priorities. Even two topics—like getting better portraits or improving travel snapshots—go a long way.
Price and value: is $295 per group actually a deal?
The price is $295 per group for up to 6 people, for a session of about two hours. That structure matters.
If you’re coming with a full group of 6, the effective cost per person is about $49. If it’s just you or two people, the per-person cost is higher—but you’re still buying real, guided instruction rather than passive sightseeing.
Here’s when I think it’s strong value:
- You want hands-on coaching instead of reading specs and watching random videos.
- You have limited time and you want skills you can use immediately.
- You’re traveling soon and want your camera to work for you on that trip, not after.
And here’s when it might be less of a fit:
- If you only want a general tour with minimal camera work, you might prefer a more casual photo walk.
- If you’re expecting the guide to bring your camera setup and you don’t plan to bring your own gear, you’ll be disappointed.
Bottom line: this is worth it when you want feedback and measurable improvement in a short window.
Timing, weather, and getting there without fuss
The start time is listed as 2:45 pm, and it ends back at the meeting point. So you can treat it like an early afternoon plan that doesn’t swallow your whole day.
It also requires good weather. If conditions aren’t right, the experience can be canceled and you’ll be offered a different date or a full refund. That’s a practical note: photography lessons go sideways when lighting and visibility are too unpredictable.
The meeting point is near public transportation, which helps if you don’t want to worry about parking right at the start. Service animals are allowed, and most people can participate—so this is designed to be approachable for a wide range of travelers.
Who this private session is best for (and who should skip it)
This works especially well if:
- You’re new to your camera or have a new model and want a faster learning curve.
- You’re the kind of person who learns best by shooting and getting corrections.
- You want help with both technical control and composition choices.
- You’re going as a small group and want personalized attention rather than a crowded class.
It might not be the right fit if:
- You want a broad, full-day photography tour with multiple stops and long shooting windows.
- You’re not interested in learning anything besides getting a couple of decent photos.
If you’re planning an upcoming trip—whether it’s a major vacation or just a “week of city photos”—this kind of coaching can save you time later. You’ll spend less time troubleshooting and more time creating.
Should you book this session?
I’d book it if you want a focused, two-hour plan with one-on-one feedback, and you’re willing to bring your own camera so the guidance can match your exact controls. The Little Italy location is practical for learning quickly, and the tripod support makes it easier to test your settings and see results.
I’d hesitate only if you’re hoping for a camera-provided experience or you’re short on specifics. To get full value, show up with a couple of priorities—what’s frustrating you, what you want to photograph, and what “better” means to you.
If that’s you, this is a strong way to jump-start your photography in San Diego and carry those habits into the rest of your trip.
FAQ
How long is the Learn Your Camera private photography session?
It lasts about 2 hours.
Where do we meet in San Diego?
You start at Piazza della Famiglia, 523 W Date St, San Diego, CA 92101, USA.
Is this a private tour or shared experience?
It’s private. Only your group participates, up to 6 people.
What is included in the price?
The session includes a tripod and an expert photography tour guide. A mobile ticket is used.
Are cameras provided for the session?
No. Cameras are not provided, so you’ll need to bring your own device.
Can I use a mobile phone camera instead of a traditional camera?
Yes. Any type of camera works, including mobile phone cameras.
What happens if the weather is bad?
The experience requires good weather. If it’s canceled due to poor weather, you’ll be offered a different date or a full refund.
Is there a cancellation policy with refunds?
Yes. You can cancel up to 24 hours in advance for a full refund. If you cancel less than 24 hours before the start time, the amount paid will not be refunded.